News
Site Editor
 Site
/uploads/image/61e7a5cca4d32.png
This guide will provide a comprehensive, step-by-step approach to replacing the battery in your vacuum cleaner. Always refer to your specific vacuum cleaner’s manual for any model-specific instructions or precautions.
Replacing Vacuum Cleaner Batteries: Step-by-Step Guide
Views: 2237
Author: Site Editor
Publish Time: 2024-06-20
Origin: Site
Replacing the battery in your vacuum cleaner can extend its life and restore its performance. This guide will provide a comprehensive, step-by-step approach to replacing the battery in your vacuum cleaner. Always refer to your specific vacuum cleaner’s manual for any model-specific instructions or precautions.
Step 1: Gather Necessary Tools and Materials
Before you begin, ensure you have the following tools and materials:
-
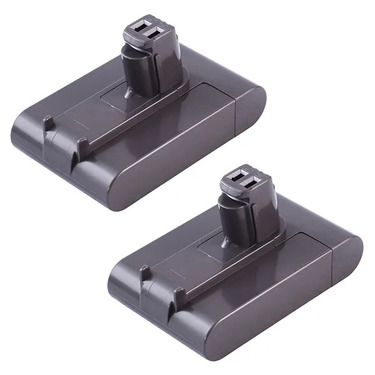
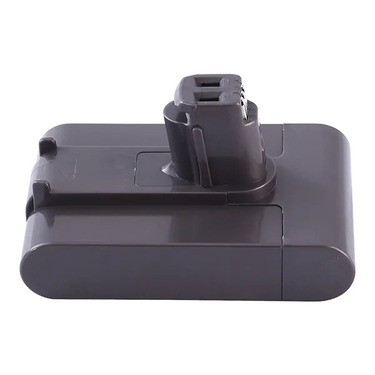
A replacement battery compatible with your vacuum cleaner model
-
Screwdrivers (usually Phillips and flathead)
-
Safety gloves
-
Safety glasses
-
Your vacuum cleaner's user manual

Step 2: Safety Precautions
-
Turn Off and Unplug: Ensure the vacuum cleaner is turned off and unplugged from any power source to avoid electrical shock.
-
Wear Safety Gear: Put on safety gloves and glasses to protect yourself from any sharp edges or accidental spills from the old battery.
Step 3: Access the Battery Compartment
-
Locate the Battery Compartment: Refer to your vacuum cleaner’s manual to find the location of the battery compartment. It is typically found at the base or back of the unit.
-
Remove Screws: Use the appropriate screwdriver to remove any screws securing the battery compartment cover. Keep the screws in a safe place to avoid losing them.
-
Open the Compartment: Carefully open the battery compartment to reveal the battery.
Step 4: Remove the Old Battery
-
Disconnect the Battery: Gently disconnect any wires or connectors attached to the old battery. Take note of how the battery is connected for reference when installing the new battery.
-
Remove the Battery: Carefully lift the old battery out of the compartment. Some batteries may be secured with additional screws or clips, so ensure these are removed if present.
Step 5: Install the New Battery
-
Insert the New Battery: Place the new battery into the compartment, ensuring it fits snugly in the designated space.
-
Reconnect Wires: Reconnect any wires or connectors to the new battery, matching the connections as they were with the old battery. Ensure all connections are secure and there are no loose wires.
Step 6: Secure the Battery Compartment
-
Close the Compartment: Carefully close the battery compartment cover, ensuring it fits properly.
-
Replace Screws: Use the screwdriver to replace the screws you removed earlier, securing the battery compartment cover in place.

Step 7: Test the Vacuum Cleaner
-
Plug In and Turn On: Plug the vacuum cleaner back into the power source and turn it on to test the new battery.
-
Check Functionality: Ensure the vacuum cleaner operates as expected. If there are any issues, double-check the battery connections and ensure the battery is properly seated.
Step 8: Dispose of the Old Battery
-
Follow Disposal Regulations: Properly dispose of the old battery according to local regulations. Many areas have specific recycling programs for batteries to prevent environmental harm.
-
Recycle: If possible, take the old battery to a recycling center that accepts batteries.
Tips for Maintaining Your Vacuum Cleaner Battery
-
Regular Charging: Keep the battery regularly charged to maintain its lifespan. Avoid letting the battery completely discharge frequently.
-
Proper Storage: Store your vacuum cleaner and its battery in a cool, dry place to prevent overheating and damage.
-
Avoid Overcharging: Do not leave the vacuum cleaner plugged in for extended periods after it is fully charged, as this can degrade the battery over time.
Replacing the battery in your vacuum cleaner is a straightforward process that can significantly improve its performance and extend its lifespan. By following this step-by-step guide, you can safely and effectively replace the battery, ensuring your vacuum cleaner remains in good working condition. Always consult your vacuum cleaner’s manual for specific instructions and safety information related to your model.

